Field guide
How to Take Before-and-After Photos for Contractor Projects
A field-ready photo checklist for contractors who want consistent before-and-after images that build trust and win more work.
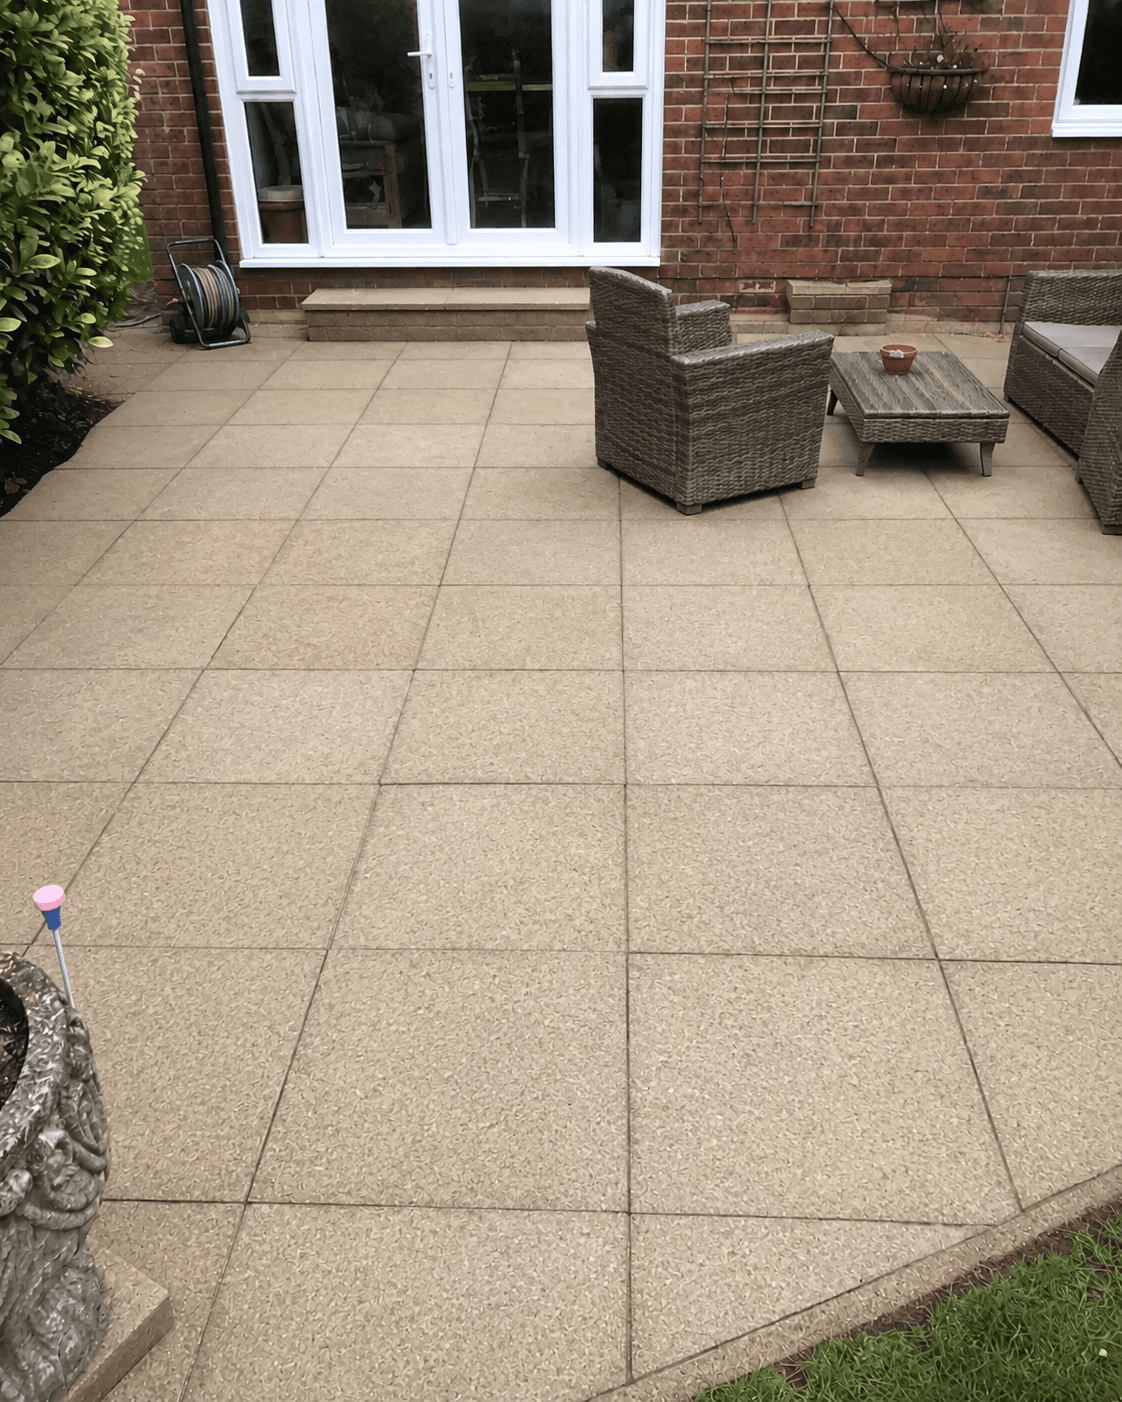
Quick answer
Take contractor before-and-after photos from the same position, height, lens, and direction. Use soft daylight when possible, clean the scene, capture wide and detail views, and keep the edit truthful to the finished work.
The before-and-after rule that matters most
A convincing comparison keeps the camera position consistent and the result honest.
Before-and-after photos work because the viewer can understand the change immediately. That only happens when the two images are comparable. If the “before” is a dark, crooked close-up and the “after” is a bright ultra-wide shot from another corner, the comparison feels manipulated—even when the workmanship is excellent.
Use this field process to create dependable proof with an ordinary phone.
Photograph the starting condition before anything moves
Take the first set before materials arrive, furniture is shifted, surfaces are pressure-washed, or demolition begins. Include enough context to show what the customer was dealing with.
Capture:
These records also help your team remember what was present at arrival. They are marketing assets second; job documentation first.
- one wide establishing view
- the main problem from a medium distance
- two or three close details
- any access, drainage, substrate, or safety condition that affects the work
- a reference angle you can repeat when the project is complete
Mark the repeatable camera position
Choose a spot you can return to later. Note a physical reference—“centered on driveway joint, phone at chest height”—or take a quick screenshot of the camera grid.
Use the same orientation, zoom setting, approximate height, direction, and major vertical and horizontal lines.
Avoid digital zoom. Step closer for detail shots, but preserve at least one wide pair taken from the same position.
Use light that shows the work clearly
Bright midday sun can create hard shadows and blown highlights. Early morning, late afternoon, or an evenly overcast sky usually makes exterior surfaces easier to read.
For interiors, turn on the room’s permanent lighting and avoid mixing too many color temperatures. Hold the phone steady, clean the lens, and tap the subject on screen to set focus and exposure.
Do not apply heavy filters. Google’s Business Profile photo guidance says images should be in focus, well lit, and represent reality without significant alterations or excessive filters.
Clean the frame before the final photo
The work may be complete while the scene still looks unfinished. Before the “after” set:
The goal is not to stage a fake result. It is to remove jobsite clutter so the actual workmanship is visible.
- remove tools, packaging, ladders, cords, and temporary protection
- sweep or rinse the work area
- close bins and storage doors
- straighten movable items with permission
- move vehicles that block the result
- check reflections for people or private information
Capture a useful set, not 40 duplicates
A dependable final set usually includes the matching wide “after,” two medium views, three details, one contextual image, and a short vertical walkthrough.
For roofing, include edges, flashing, penetrations, and a safe ground-level overall view. For painting, show clean cut lines and repaired problem areas. For landscaping, show grading, transitions, planting, and usable space—not only a dramatic wide shot.
Preserve the original files
Keep originals in a project folder before cropping or editing. A simple naming pattern makes them searchable:
Limit access to customer information. Do not expose house numbers, license plates, children, security devices, documents, or exact addresses without a clear reason and permission.
- 2026-09-05-smith-driveway-before-wide
- 2026-09-05-smith-driveway-after-wide
- 2026-09-05-smith-driveway-after-detail-joint
Edit for accuracy, not drama
Reasonable edits include straightening, minor cropping, exposure correction, and consistent white balance. Avoid replacing skies, removing defects, adding landscaping that was not present, or changing material colors.
A customer should be able to visit the finished job and recognize what you published.
Add the context a photo cannot explain
A photo is stronger when accompanied by a short factual caption:
“Removed failing acrylic coating, repaired two cracks, and applied a breathable masonry system to this 1980s stucco exterior in Mesa.”
That sentence adds service, problem, approach, property context, and location. It also makes the page more useful to someone researching a similar job.
The two-minute crew checklist
Before work: clean the lens, capture one wide and three details, record the repeatable position.
During work: photograph one important step that will later be hidden.
After cleanup: return to the position, match the frame, capture the final set, and upload before leaving.
If you make that routine part of closeout, your best work stops disappearing into camera rolls.
Common questions
Questions this guide answers
What is the best angle for before-and-after contractor photos?+
Use a wide three-quarter or straight-on view that clearly shows the work area, then repeat the same angle after completion. Add detail photos separately.
Should contractor photos be portrait or landscape?+
Capture both when possible. Landscape works well for websites and Google; portrait is useful for Stories, Reels, and mobile-first posts.
Can contractors edit before-and-after photos?+
Minor exposure, color, crop, and straightening adjustments are reasonable. Do not materially change the result or hide defects.
Do I need customer permission to post project photos?+
Obtain permission, especially when a customer, identifiable address, interior, vehicle, or personal item may appear. Keep the scope of permission clear.
How many photos should a contractor take per job?+
A practical minimum is four before photos, one important progress photo, six after photos, and one short walkthrough video.
Sources and further reading
Put the guide into practice